Senin, 22 Januari 2018

EGGLESS CHOCOLATE LAVA CAKE WITHOUT OVEN OR MICROWAVE / EGGLESS LAVA CAKE

Serves: 5-6 lava cakes

This egg-less  lava cake is one of the easiest cake specially who are beginners in baking or those who resist using oven. I got many queries wherein I am asked to make cakes without oven so I wrote instant cake made in mug, microwave and I even have cooker cake recipe made with both egg and without egg. You can make all the cakes given in my blog under category of "cakes and tarts" and can make all these cakes in cooker too.

Before this I wrote recipe of  instant egg-less cake that can be made in microwave, but that recipe can only be enjoyed if served instantly else it becomes dry. I have lava cake recipe but there I used eggs and I got several mails requesting people to post egg-less version. So here I am with an egg-less version which can be made both in oven and without oven.

Here I used kadai/ wok you can use cooker too. To know how to use cooker for baking please see the recipe of egg-less fruit and nut cake in cooker wherein I have written detailed steps and important instruction to use cooker for baking.

INGREDIENTS
1/2 cup all-purpose flour (Maida)
1/2 cup powdered sugar
1/3 cup melted butter

1/3 cup cocoa powder
1/2 cup+ 2 tbsp warm milk
1/2 tsp baking powder
1/2 cup chopped dark chocolate
1-2 cups salt

 
METHOD
1.Spread 1 cup salt in kadai or do pan. Cover with lid and keep on low flame to pre heat.

2. By the time kadai is getting pre heated start making your batter.

3. Sift together flour, cocoa powder, powdered sugar and baking powder.

4. Add melted butter. Mix.

5. Add milk. Mix well to get flowing batter.

6. Pour batter till half in greased moulds. 

7. Keep in one big cube or 2 small cubes of dark chocolate.

8. Pour little more batter to cover the chocolate.

9. Keep the mould in pre heated kadai and cover the lid. 

10. Let it bake on low flame for 15-20 minutes or till it become non sticky after touching with finger.

11. Or bake in preheated oven at 180�C for 10 minutes.

12. Remove from pan.

13. After one minute de mould from the mould. 

14. Cut it from center and enjoy lavaaa......

NOTES: 
1. It is important to pre-heat kadai as we pre-heat oven before start baking.

2. Make sure you start pre-heating kadai with salt in it before start making batter as it is advisable not to keep batter for long.

3. Instead of kadai you can use cooker too, to find out the important instructions on how to use cooekr for baking do see recipe of cooker cake.

4. You can use silicon moulds instead of aluminum moulds but make sure not to use steel bowls or it will end up burning the cake.

5. If you don't have plate with holes as shown in pic 10 , you can use any normal plate (a steel plate can be used here).

6. Amount of salt to be spread on kadai depends on it's space and capacity. The quantity of salt should be enough to cover the base.

7. Cooking time in kadai may vary in case you are using small sized moulds. If using small silicon moulds check after 10 minutes.


1. Before starting the process, spread 1 cup salt, close the lid, keep flame low and pre-heat.
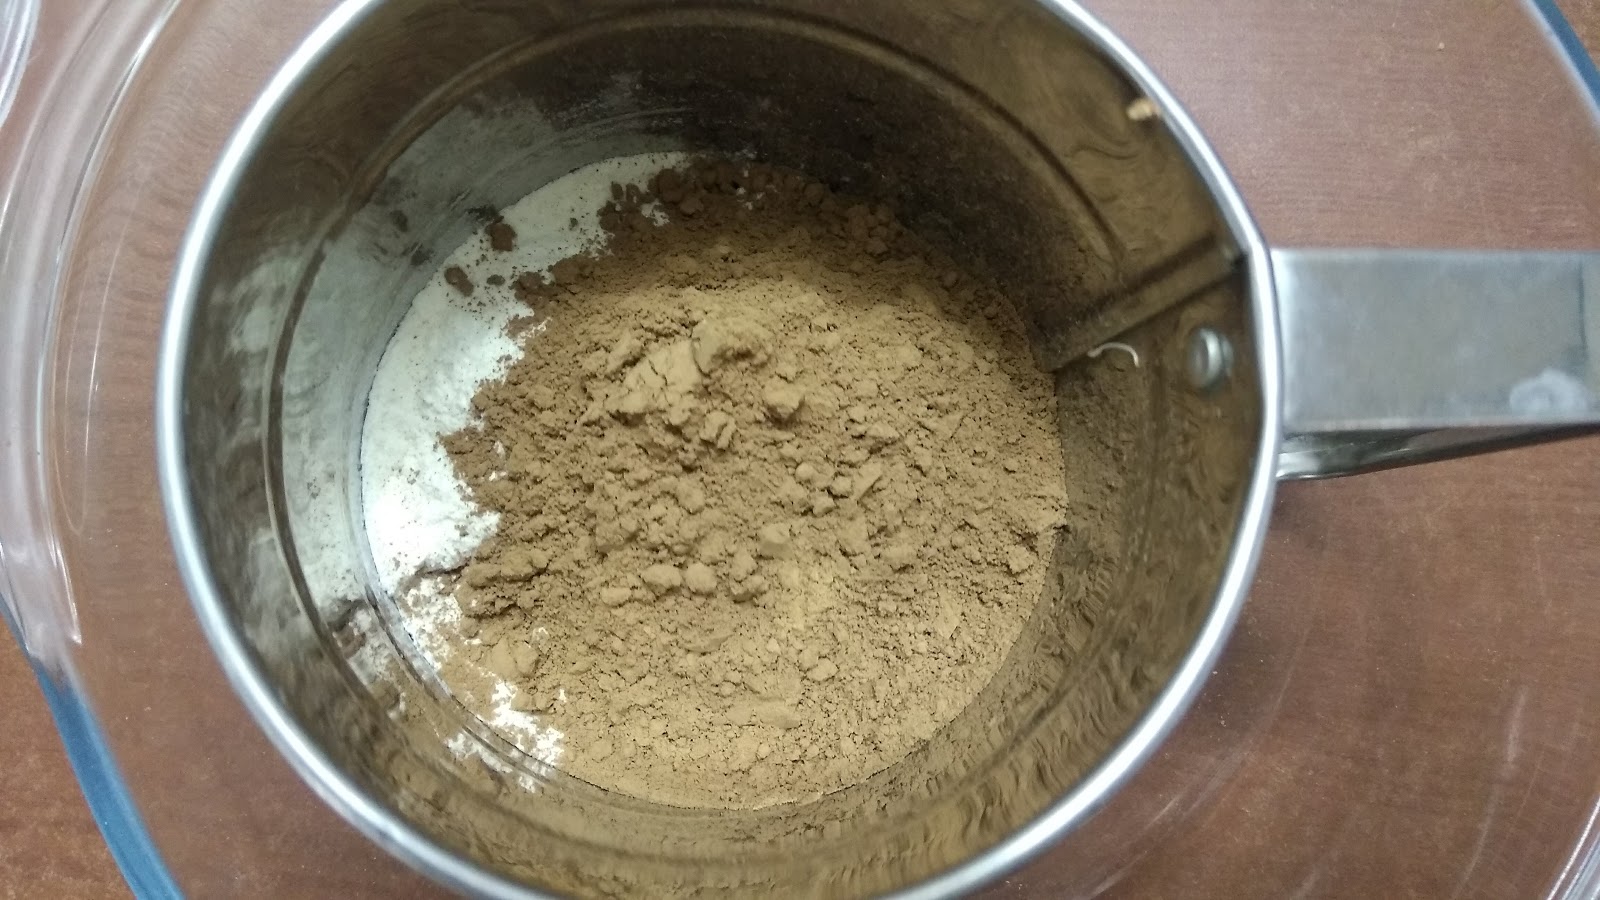


2. Sift together flour, sugar and baking powder.


3. Keep aside.


4. Add melted butter. Mix.


5. Add milk gradually while mixing.


6. Batter is ready


7. Grease moulds with butter.


8. Pour batter till 1/2 level, dig a large cube of dark chocolate.


9. Cover the chocolate with batter. 


10. Keep the plate (I used this cover which comes with cooker equipment's.)


11. Keep the mould on top.


12. Cover with lid.


13. The remaining moulds I kept in pre-heated oven at  180�C and bake for 10 minutes.


14. Cover and the lid and keep the flame low. Cook for 15 minutes.


15. After minutes you can see it's cooked.
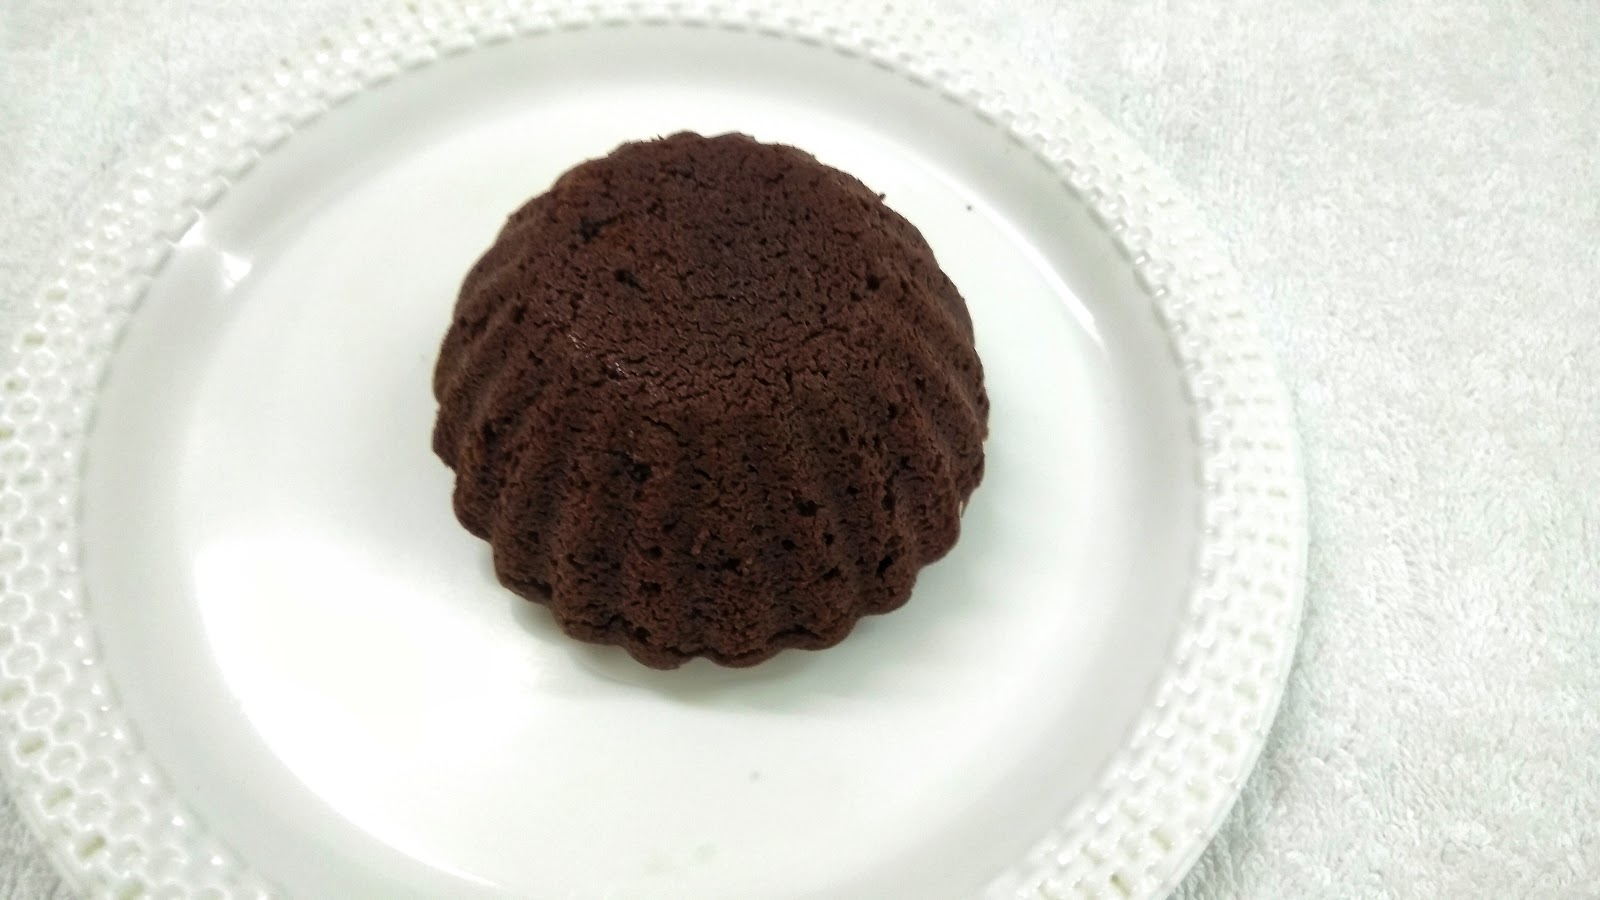

16. After 2-3 minutes, de-mould in serving plate.


18. Enjoy this super yummy lava cake made without oven.

Senin, 15 Januari 2018

MASALA DOODH / DRY-FRUIT MILK / MASALA MILK

Masala doodh or Spiced milk is a unique blend made from nuts, couple of spices and saffron.This is also a great way to sneak in some healthy nuts and saffron along with milk into our diet. The presence of nuts in the masala powder helps to enrich the milk with added health benefits. Its flavor, aroma and taste are ethereal and more than that, it offers many health benefits like antioxidants, vitamin E and zinc and many more.

You can store this masala for more than a month and can enjoy in winters. I prefer using this as additive in milk for kids rather than going for those commercial milk additives.


INGREDIENTS 
1/2 cup almonds
1/2 cup cashews
1/2 cup pistachio
4-5 tsp chirongi
1 tsp fennel seeds (Saunf)
5-6 whole green cardamom (I had powder so I used 1 tsp)
1/4 tsp saffron (kesar)


4-5 peppercorns (I used 1/2 tsp pepper powder)
1/2 tsp turmeric powder
1 tsp ginger powder
6 tbsp sugar
a pinch of grated nutmeg

METHOD
Dry roast almonds, cashews, pistachios at a time for 3-4 minutes. Cashews take 2-3 minutes to roast. Transfer in plate.

2. Dry roast chirongi and saunf for 1-2 minutes. Add kesar after 2 minutes and roast for another minute.Transfer in plate.

3. If you are using peppercorns dry roast them too.

4. In pic6 you can see all the ingredients I have used.

5. Take blender jar, add all the ingredients and blend to make fine powder as shown in pic below.

6. Store this in air-tight jar in fridge for 2 months and without fridge for 1 month.

7. Take 1 glass milk, add 2 tsp of powder, warm it or you can simmer for 2-3 minutes for thick and creamy milk.

8. I added few more strands for kesar(saffron) for extra bright color. You can use extra 1/2 tsp of turmeric powder (haldi powder) as substitute of saffron.

Pictorial:


1. Dry roast almonds.


2. Dry roast cashews.


3. Dry roast pistachio.


4. Dry roast chirongi and saunf.


5. Add kesar and roast for another 2 minutes.


6. All the ingredients are ready to go in blender jar.


7. Transfer in blender jar.


8. Make fine powder. Store in air-tight jar.


9. For preparing masala milk, take 1 glass of milk in heavy bottomed pan, add few strands of kesar.


10. Add 1 tbsp of masala powder.


11. Sugar to taste, I added 1 tsp.


12. Add 1/4 tsp of turmeric powder for extra color.


13. Bring it to boil.


14. After boil, if you want it to be more thick and bright, simmer for 5 minutes.

15. Pour in serving glasses.


16. You can enjoy this drink throughout winters.

Minggu, 07 Januari 2018

ORANGE CAKE

This orange cake have super bursting taste and flavors of fresh orange. The freshly squeezed orange juice and orange zest makes it irresistible.

This is one of the moist and tender cake which will give you many wows!!

My kids love it most after chocolate cake. I am sure yours will fall in love too!

The glaze makes it more moist and soft from inside, though it is completely optional.

You can try egg-less orange cake too.


INGREDIENTS
1 1/2 cups whole wheat flour
1/2 cup softened butter (room temperature)
3 medium or 2 large eggs
1 cup powdered sugar

1/2 tsp baking soda
1/2 tsp baking powder
1/2 cup freshly squeezed orange juice
1/3 cup milk
1 tsp orange zest

For Orange Syrup:
1/4 cup freshly squeezed orange juice
1/4 cup sugar

METHOD:
 1. Sift together flour, baking soda and baking powder. Keep aside.

2. Cream together butter and sugar till creamy and light using whisker or stand mixer.

3. Beat eggs one at a time while mixing continuously.

4. Grate orange outer skin to get the zest. Add in the eggs mixing well.

5. Squeeze fresh juice from orange and add. Add milk.

6. At this stage you will find the batter curdled, don't worry just move to the next step.

7. Add sifted flour, baking soda and baking powder. Mix till incorporated well.

8.You will have little sticky batter, that's the perfect consistency.

9. Grease loaf pan or any baking pan with butter, place parchment paper. Pour the batter.

10. Bake in pre-heated oven at 180�C for 25-30 minutes or till skewer comes out to be clean.

NOTES: 

1.For egg-less version substitute egg with 3/4 cup thick curd.

2. I baked both round and loaf at different time and sharing both the pics.

Pictorial: 


1. Sift flour, baking soda, baking powder and keep aside.


2. Wash and grate orange skin to get zest.


3. Squeeze out fresh juice, strain and keep aside.


4. Mix together sugar, butter and vanilla.


5. Beat well till creamy and pale.


6. Add eggs. Beat again


7. Add orange zest.


8. Add orange juice then milk.


9. Add sifted flour.


10. Little by little.


11. Pour in greased round pan.


12. Or in loaf pan.


13. Tap to get rid of air-bubbles.


14. Done. Pop in pre-heated oven.


15. It's done, let it come cool down a bit.


16. Using toothpick or fork prick all over the cake so that glaze get absorb inside.


17. Like this.


18. Closer look.


For Glaze:


1. Take equal quantity of both sugar and fresh squeezed orange juice.


2. Cook on medium flame stirring till sugar melts completely.


3. Like this.


4. With the help of spoon spread all over.


5. You will immediate glaze and shine.


6. Leave it for 15-20 minutes before serving.


7. Slice and serve.


8. Closer look of super soft and super moist orange cake!


Some Success Stories:


1. Shruti Singh tried Orange cake and shared this pic. Thank you Shruti for your feedback.


2. Claudette Dmello tried orange cake not only once but twice and shared this pic. Thank you Claudette Dmello for sharing your feedback.