Tampilkan postingan dengan label Sweets Puddings n Desserts. Tampilkan semua postingan

Selasa, 30 Juli 2019

DESICCATED COCONUT LADOO

Coconut ladoo made without condensed milk...with a perfect market like texture and taste. I have posted coconut burfi made with fresh coconut, but this recipe comes handy when you want to make something quick and tasty.

Many people complain of sticky coconut ladoo with not so good texture. This recipe will give you perfect non-sticky ladoo.


INGREDIENTS:
2 cups desiccated coconut (dry coconut powder)
1 cup milk


1 cup sugar
2 tsp ghee
1/2 cup coconut powder for rolling the ladoos


METHOD
1. Add ghee and coconut powder in pan, cook on low flame for 2-3 minutes, don't let it turn brown.

2. Now add milk and cook on low flame till it is completely absorbed.

3. Add sugar and cook again on low flame. Cook till all the water from sugar is absorbed.

4. Cook for another 2-3 minutes till it comes together like a dough.

5. Transfer in a bowl and let it come down to room temperature. Once it come down to room temperature and when touched is just warm start rolling to form ladoos.

6. Roll the balls in coconut powder.

7. Enjoy these ladoos for 5-6 days.

Pictorial:


1. Add ghee in coconut. Turn on the flame.


2. Cook on low flame for just 1-2 minutes. Don't turn it brown.


3. Add milk.


4. Mix well and cook on low flame.


5. Cook till milk is completely absorbed.


6. Add sugar.


7. Cook on low flame.


8. Cook water from sugar is completely absorbed.


9. It should come together like a dough. Like this. Let the mixture cool down.


10. It should be warm when touched with palm. Roll it.


11. Dust in coconut powder.


12. Perfectly done!!


 13. Ready for feast!


14. Do try at home and enjoy!

Minggu, 02 Juni 2019

RASMALAI

Rasmalai is one of the popular and delicious bengali sweet where rasgullas are soaked in thickened and sweetened milk.

This recipe is favourite of all my three kids. They relish the saffron milk and the spongy flat balls inside.

To get the soft and spongy rasmalai, make sure to use cow milk than buffalo milk, trust me you will get good result.  


Yields: 10-12 pieces
INGREDIENTS
FOR CHEENA
2 litre cow's milk
1 TSP citric acid or 2 tbsp lemon juice (citric acid is highly recommended here for best results)
2-3 tbsp water

1/2 cup cold water for cooling milk before curdling.
2 cups ice cold water for adding in curdled milk
Some ice cold water for washing cheena

For boiling:
6 cups water
2 cups sugar

For Slurry: 
1 cup whey (leftover water of cheena)
1 tbsp cornflour

FOR RABRI: 
1 litre full fat milk (buffalo milk)
1/2 cup sugar
1 can condensed milk (400 ml)
15-20 strands saffron (kesar)
1 tsp cardamom powder
Few chopped nuts of your choice

STEPS FOR CHEENA
1. Mix lemon juice with 2 tbsp water Or dissolve citric acid in 1/4 cup water and keep aside. You will see citric acid will dissolve naturally. If any particles remain stir well with spoon.

2. Bring milk to boil. Turn off the flame and add 1/2 cup ice cold water to bring the temperature of milk down.

3. Add citric acid mix little by little mixing milk at the same time. After a minute or so you will see milk is curdled. Now add almost 1 litre ice cold water in it.

4. Strain the curdle milk using clean muslin cloth. Keep half cup water of curdle milk aside for later use.

5. Wash it with cold water to take out sourness.

6. Squeeze out the excess water.

7. Hang this 30 minutes to1 hours. Time depends on the cheena quality. It took 1 hour for me. Check after 30 minutes, if water is still there hang for another 30 minutes. Here, it is important to have moist cheena but with no water otherwise it will be difficult to knead it. This is again very important step, if cheena becomes too dry it will result in hard ramalai. Please note it might take more than 1 hour in some cases depending on the quality of milk.

8. Once cheena release all the water but is moist start kneading it. Knead for about 3-4 minutes. If cheena is still wet please don't proceed. Squeeze out the excess the water by pressing the cloth or hang for more time. While kneading if cheena stick to your hands it means it needs more time to dry.

9. Divide cheena in small equal parts.

10. Press between your palm and give it round shape.

11. Before you start kneading, keep 6 cups water with 2 cups of sugar for boiling. Avoid keeping cheena balls uncovered for long.

12. Take one cup of leftover water of curdle milk, add 1 tbsp cornflour. Make a slurry. Keep aside.

13. Once sugar syrup stays boiling add 2 tbsp milk. Remove the scum if any.

14. Now add cornflour slurry to it. Let water come to rolling boil. Add cheena balls one at a time.

15. Cook on high flame by just keeping the lid and not closing it. Make sure to have continuous bubbles.

16. Cook on high flame for 10 minutes and then reduce the flame to medium and cook for another 15 minutes.

17. Make sure to have continuous bubbles for sponginess.

18. To check whether it's cooked, half full the glass with water drop rasgulla, if it sinks it's cooked, if it floats on top cook for another 10 minutes.

19. Once done, leave it to come down to room temperature.

STEPS FOR RABRI: 
1. Bring milk to boil with cardamom powder and kesar. Once it comes to boil, simmer on low flame till it becomes little thick , this will take around 30-35 minutes.

2. Add condensed milk and sugar. Simmer for another 10-15 minutes.


3. Turn off the flame and let it cool down a bit. Squeeze out the excess the water from balls.

4. Transfer flat cheena balls to serving bowl and add rabri over it.

5. Keep it in the fridge for 5-6 hours or overnight.

 Pictorial:


1. Bring milk to boil. Turn off the flame and add 1/2 cup ice cold water to cool it down.


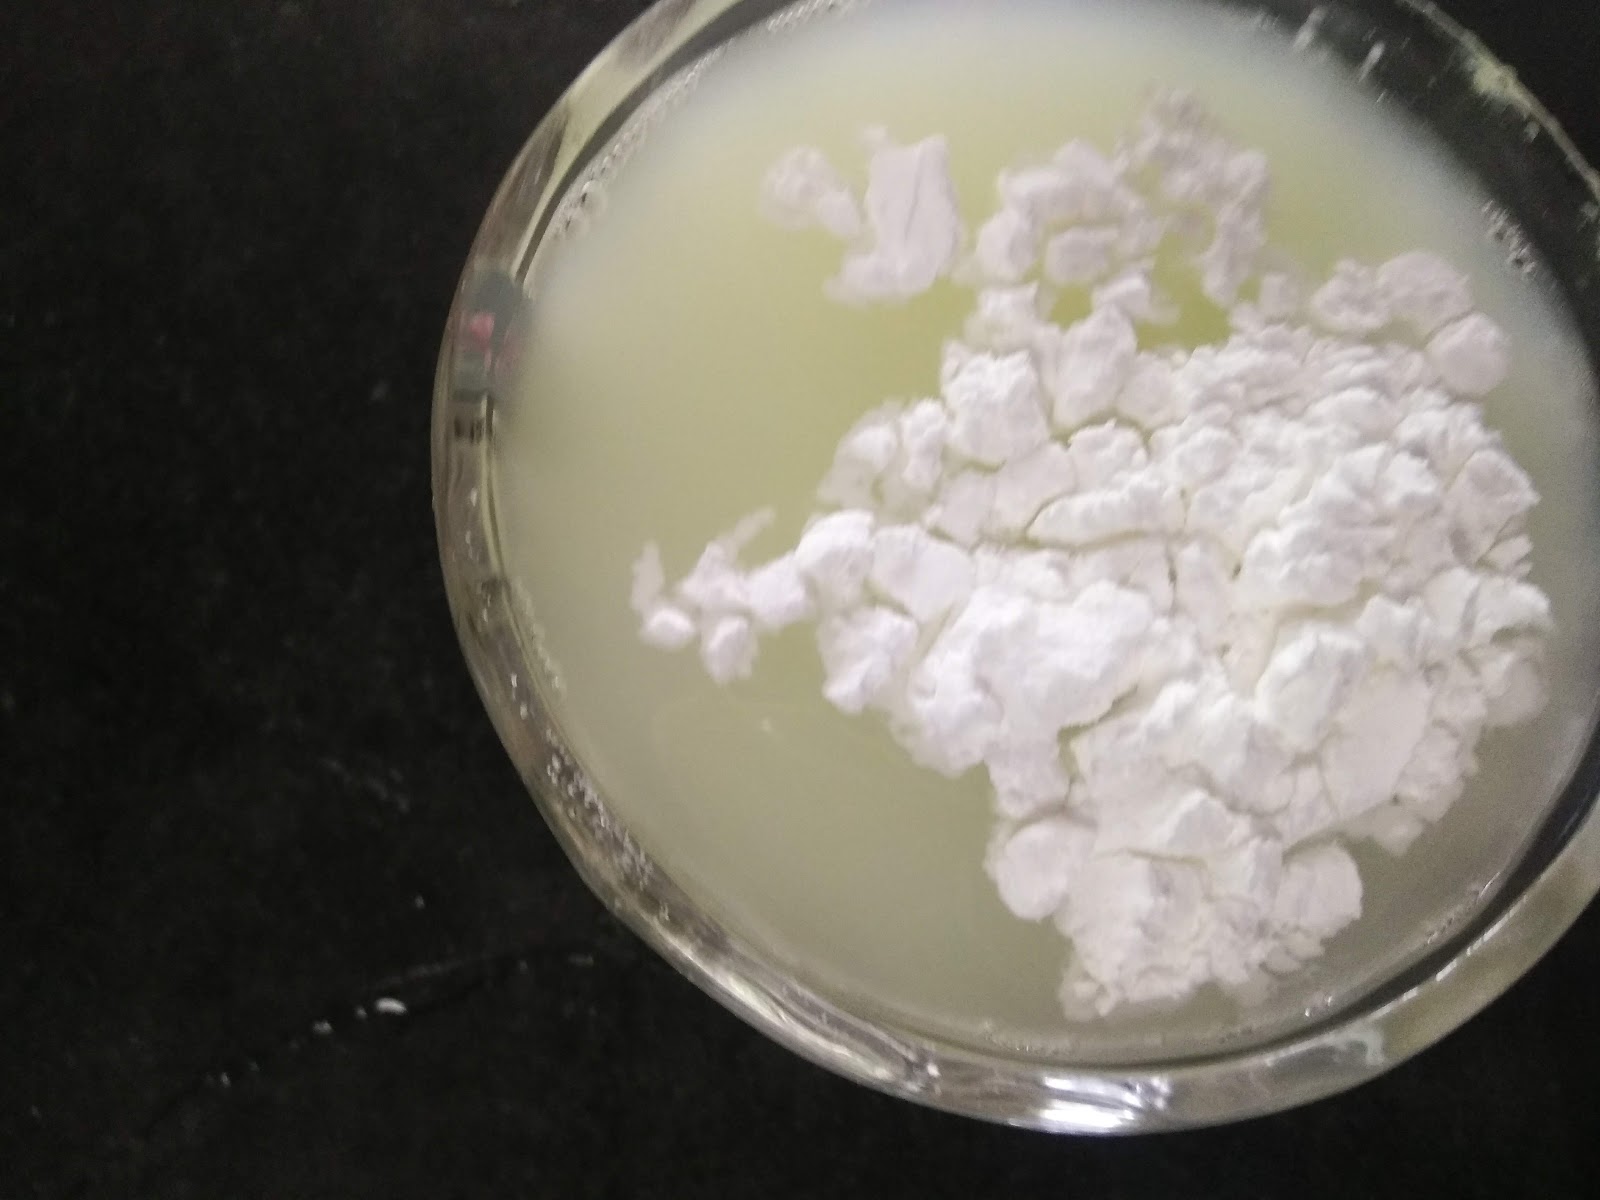
2. Wait for 30 seconds. Add citric acid dissolved water.


3. Slowly add citric acid and keep mixing till milk curdles completely.


4. Now add 1 litre ice cold water.


5. Strain in clean cloth.


6. Keep 1 cup whey aside.


7. Pour ice cold water over cheena. Wrap it in the cloth.


8. Hang the cloth.


9. Before start kneading the cheena, keep water and sugar for boiling ( 10 cups water with 2 cups sugar).


10. After 1 hour open it.


11. Crumble with hand in big pan.


12. With the edges of palm start kneading the cheena, don't put too much pressure.


13. After 4-5 minutes you will get smooth dough.


14. Start making small sized balls.


15. Roll it.


16. Press it flat between your palm.


17. Mix cornflour and cheena water.


18. Put it in boiling water.


19. Bring water to boil again.


20. Add cheena balls. Cover and bring to boil. Once it become foamy, open the lid and set aside otherwise it will overflow. Keep lid on side will maintain the bubbles.


21. Cook till they are done.


22. To check if it's done, drop it in a glass of water, if it's cooked it will settle down, if it floats cook for some more time. Let it come down to room temperature.


FOR RABRI: 


1. Bring milk to boil with cardamom powder and kesar. Reduce to low and let it simmer for 30-35 minutes.


2. Add condensed milk and sugar. Simmer for another 10-15 minutes. Turn off the flame and let it come down to room temperature.


3. Squeeze out the excess water from cheena flat balls. Keep in serving bowl and pour room temperature rabri over it.


4. Keep it in the fridge for 6-8 hours or overnight.


5. You can see how spongy it is by the holes in it.


 6. Serve with some chopped nuts and fresh rose petals.


Rabu, 31 Oktober 2018

KHOYA GUJIYA / MAWA GUJIYA / GUJIYA WITH HOMEMADE INSTANT MAWA

Gujiya is a popular north Indian sweet without which Indian festivals are not complete. It's most commonly served during Holi festival but I feel sweets doesn't require any labeling they can be cherished throughout. 

Sharing a no-fail recipe to get perfect flaky, bubble-free and crispy from outside and soft and melt in mouth filling inside.

I have made mawa at home ( an instant one) which not only saves times but tastes too good.


INGREDIENTS
For Dough:
2 cups all-purpose flour (Maida)
1/4 cup ghee (clarified butter) or vegetable oil
1/2 cup water

For Filling:
1 cup khoya/mawa
1/2 cup mix dry fruit (I used almonds,cashews,raisins and pistachio)


1/2 cup powdered sugar
1 tsp cardamom powder (elachi powder)

Serves: 8-9 gujiyas


METHOD
For Dough:

Take all-purpose flour and add ghee. Rub it with finger tips for at least 5 minutes till becomes smooth and combined.

Add water little by little and start combining the dough. Make sure to add as less water as possible. At this stage just combine the dough. Once dough is combined wrap it with wet cloth and keep aside (not in fridge) for at least 25-30 minutes.

By that time prepare the filling.

After 30 minutes unwrap the dough the start kneading, if required keep sprinkling little water, make sure not to add much water or you will get air-bubbles. Here good kneading of about 10 minutes is required (put as much pressure as you can while kneading, as the dough will be hard).

Again wrap the dough with wet cloth and keep aside for 10 minutes.

For filling: 
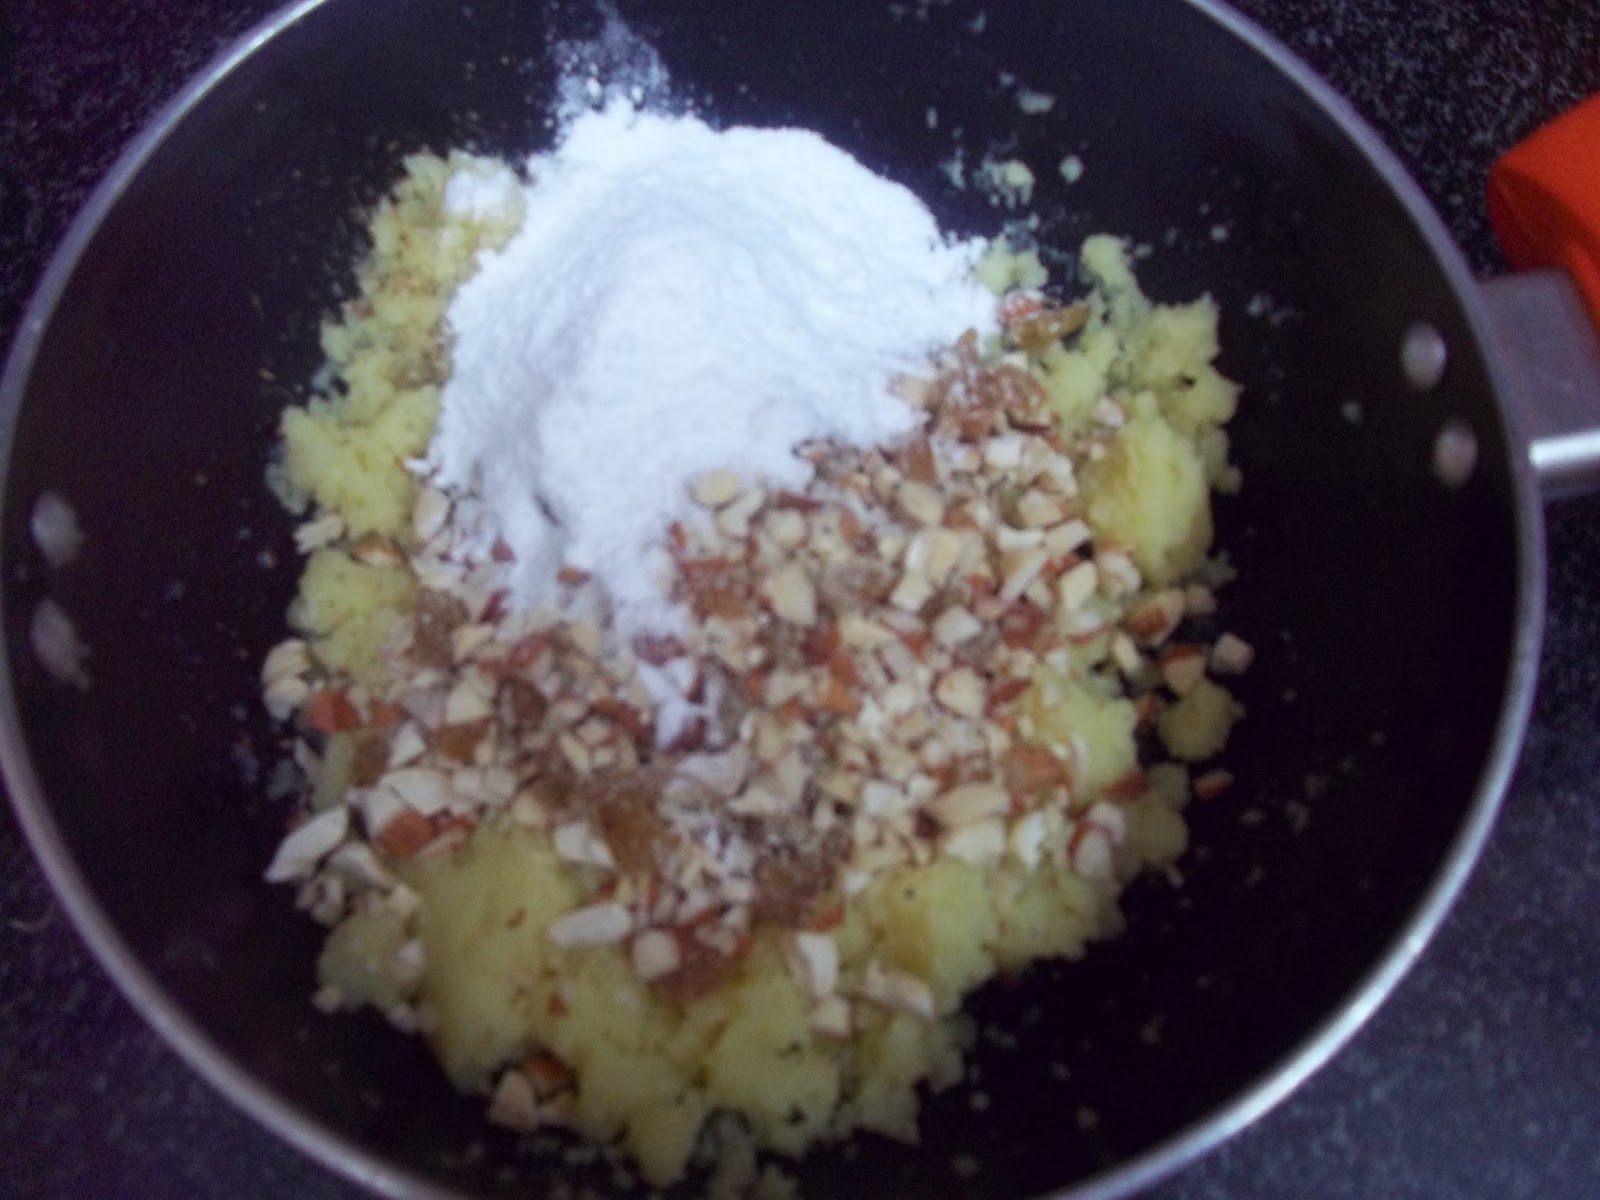
Take mawa and roast with 1 tsp ghee till combined. Turn off the flame and add roughly chopped nuts and powdered sugar.

Let this mixture come down to room temperature. Add grated chocolate and mix well. Filling is ready.

For Final Preparation: 

Divide dough in equal medium sized parts. Don't take too small balls or it will result in thin gujiya which will be difficult to handle while frying. Cover it with wet cloth to avoid drying.

Roll the ball with the help of rolling pin wider than your gujiya mould (check before you add filling)

Keep it on gujiya mould, grease the edges with water all around well. Add filling, don't add too much of filling or it will come while frying.

Close the mould and press it little for better sealing. Open the mould smoothly and take it out with light hands.

If you want to fry all the gujiyas at one go, cover it with wet cloth to avoid drying.


Heat oil, it should not be too hot or too cold. Check by dropping a small ball of dough, it should sink initially and then come up slowly.

If it takes long time to come up it means oil is cold, if it comes up too fast it means oil is very hot.

Fry it on low flame ONLY. This will take time but be patient at this last point for best results. Flip the side when cooked from one side.

Store in air-tight jar and enjoy.

Wishing all the followers of Easy Children Recipes a very happy Holi!


NOTES:

THE MOST IMPORTANT THING WHILE MAKING GUJIYA IS KNEADING A PERFECT DOUGH WHICH IS CRISPY (NOT HARD), FLAKY AND AIR-BUBBLE FREE. FOR WHICH FOLLOWING 3 STEPS ARE VERY IMPORTANT.


1. Rubbing ghee with flour is an important step. Rub it for good 3-4 minutes.

2. To get air-bubble free gujiya its very very important to add as less water as possible. More water content means air-bubbles while frying. I used only 1/4 cup water and sprinkled little water while kneading the dough. It will be a hard step but very important for good result.

3. Kneading dough for good 10 minutes is again an important step. Knead the dough well.

4. Resting dough is important to make it smooth and easy to work at.


Pictorial:


1. Take water.


2. Mix ghee in all-purpose flour.


3. Rub it well for about 5 minutes till combined well.


4. Add as less water as possible and combine the dough.


5. Cover with wet cloth and keep aside for 30 minutes. Don't refrigerate it.


6. After 30 minutes give a good knead, sprinkle some water if required, don't add much water or it will result in air-bubbles.


7. Again cover with wet cloth for 10 minutes.


8. Uncover and knead again for 5 minutes to get the smooth dough like this.


9. Cover with wet muslin cloth and keep aside.


9. By the time dough is resting for 30 minutes, prepare the filling. In one teaspoon ghee, roast homemade instant mawa till combined.


10. Turn off the flame and add chopped nuts and powdered sugar.


11. Add cardamom powder.


12. Mix everything well. 


13. Roll lemon sized dough, keep in the gujiya mould, add around a teaspoon of filling. Don't over add or filling will come out while deep frying. Apply water all over the edges.


14. Close and press the mould.


15. Cut the excess part with the help of knife.


16. Open and slowly take out the dough


17. Keep it aside and don't forget to cover it with wet muslin cloth.


20. Deep fry on low flame.