Rabu, 13 Juni 2018

NUTELLA BROWNIE


Perfect brownie is one which has crisp crackly top, super fudgy center, chewy or gooey in all the right places.

I make different versions of brownie, like  walnut brownie, lava brownie and now this brownie with Nutella. 

You can make ample to dishes using Nutella like: chocolate pudding, Nutella filled pancake, Nutella flower cookies, Nutella filled cupcakes, Nutella ice-cream, Nutella doughnuts, Nutella no-bake cake

In this recipe I have not used dark chocolate at all, which is the main ingredient of brownie which helps in getting crackly top...instead I used Nutella to get that effect. Spreading Nutella on top of batter is MUST to get that effect. 

Topping Nutella over batter, not only gives the flaky top but also makes it super gooey from inside.

It's one of the simplest brownie to make with very less ingredients and that too when the outcome is perfect.


INGREDIENTS:
1 1/4 cup Nutella
1/3 cup  softened butter

1/2 cup powdered sugar
3/4 cup all purpose flour
2 eggs

METHOD
1. In a bowl beat together sugar and butter.

2. Add eggs and beat well.

3. Add 3/4 cup Nutella. Mix well.

4. Transfer in greased baking pan.

5. Now spread remaining Nutella on top and spread all over with light hands making sure not to mix it with batter. This is a very important step for flaky top.

6. Pop in pre-heated oven for 20-25 minutes or till skewer comes out to be clean at 180�C.

7. Slice and enjoy.....

 Pictorial:


1. Beat together sugar and butter.


2. Add eggs.


3. Beat well.


4. Add 3/4 cup of Nutella.


5. Add in flour.

6.Mix well.


7. Transfer in lined baking pan.


8. Top rest of the Nutella.
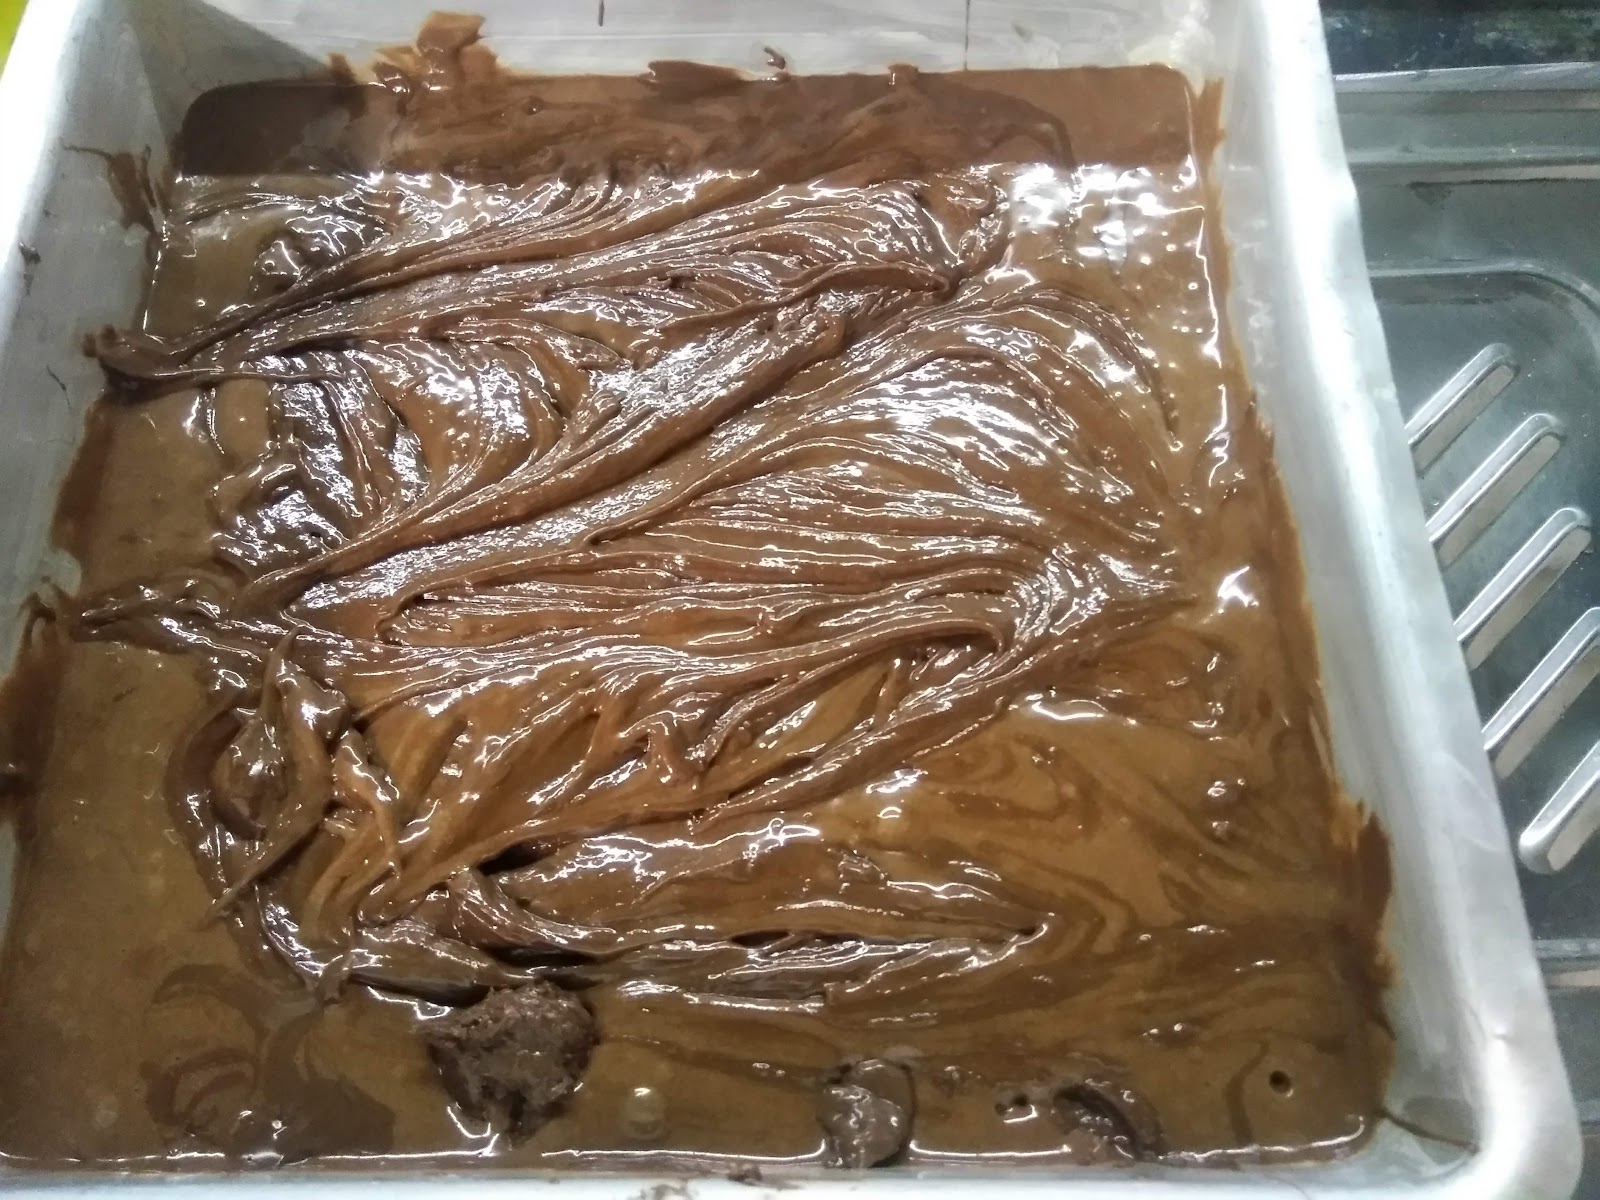


9. Swirl or spread like this. Bake at 180�C. for 20 -25 minutes or till skewer comes to be clean.


10. Mine was done in 20 minutes.


11. Slice.


12. So gooey from inside.


Minggu, 10 Juni 2018

KESAR PISTA KULFI / PISTACHIO POPSICLE

Pista kulfi is well-known desi ice-cream which nothing can replace. A super creamy and healthy dessert made by reducing milk to achieve thick consistency.   

Some people add cornflour to make it thick but I somehow don't like to add cornflour due to its typical taste. 

Reducing milk not only makes it thick but makes it really tasty which gives authentic taste.

In summers you can make many recipes with milk like: Fresh fruit drink, Royal mango shake, strawberry banana shake, Kesar badam milk.


INGREDIENTS 
1 litre whole milk
1/2 cup cream (I used Amul cream)

1 cup milkmaid or sugar (adjust sugar level according to your preference)
1/2 tsp cardamom powder
1/2 cup chopped pistachios and cashews
few strands of kesar (saffron)

METHOD
1. Soak saffron in milk for 15-20 minutes.

2. Bring milk to rolling boil on high flame in heavy bottomed pan.

3. Reduce the flame to low and add saffron soaked milk.

4.  Let milk simmer till it reduces to half and keep scrapping the edges.


5. Once it reduces to half, add condensed milk and cook for more 15 minutes. You can replace condensed milk with sugar.

6. Add cardamom powder and cream.

7. Add chopped pistachios. Turn off the flame.

8. Let this cool down completely.

9. Pour in the moulds and let is set overnight or for 8-9 hours.

10. Remove from mould and enjoy.

Pictorial:


1. Pour milk in heavy bottomed pan.


2. Increase the flame to high and let it boil.


3. Reduce the flame to low and let it simmer till it reduces to half.


4. Soak saffron in milk for 10-15 minutes.


5. Keep scarping the edges .


6. Add saffron dissolved milk or you can directly add saffron while milk is simmering.


7. Add condensed milk and let it simmer till it reduces to half.


8. Add cardamom powder and cream.


9. Add pistachios. Turn off the flame and let it cool down completely.


10. Pour in the moulds.


11. Close and set in fridge.


12. Sprinkle some more pistachios.


13. Serve chilled. 


Kamis, 07 Juni 2018

EGG ON TOAST / TOAST EGG

I believe innovation and twist in day to day cooking can bring a huge surprise and excitement in food which kids love.

I innovate a lot with egg recipes and I have written nearly 20 recipes on it, as my eldest son is not very fond of eggs and  but I insist a lot on eggs due to high protein content in it, which is essential for kids growth and development.   

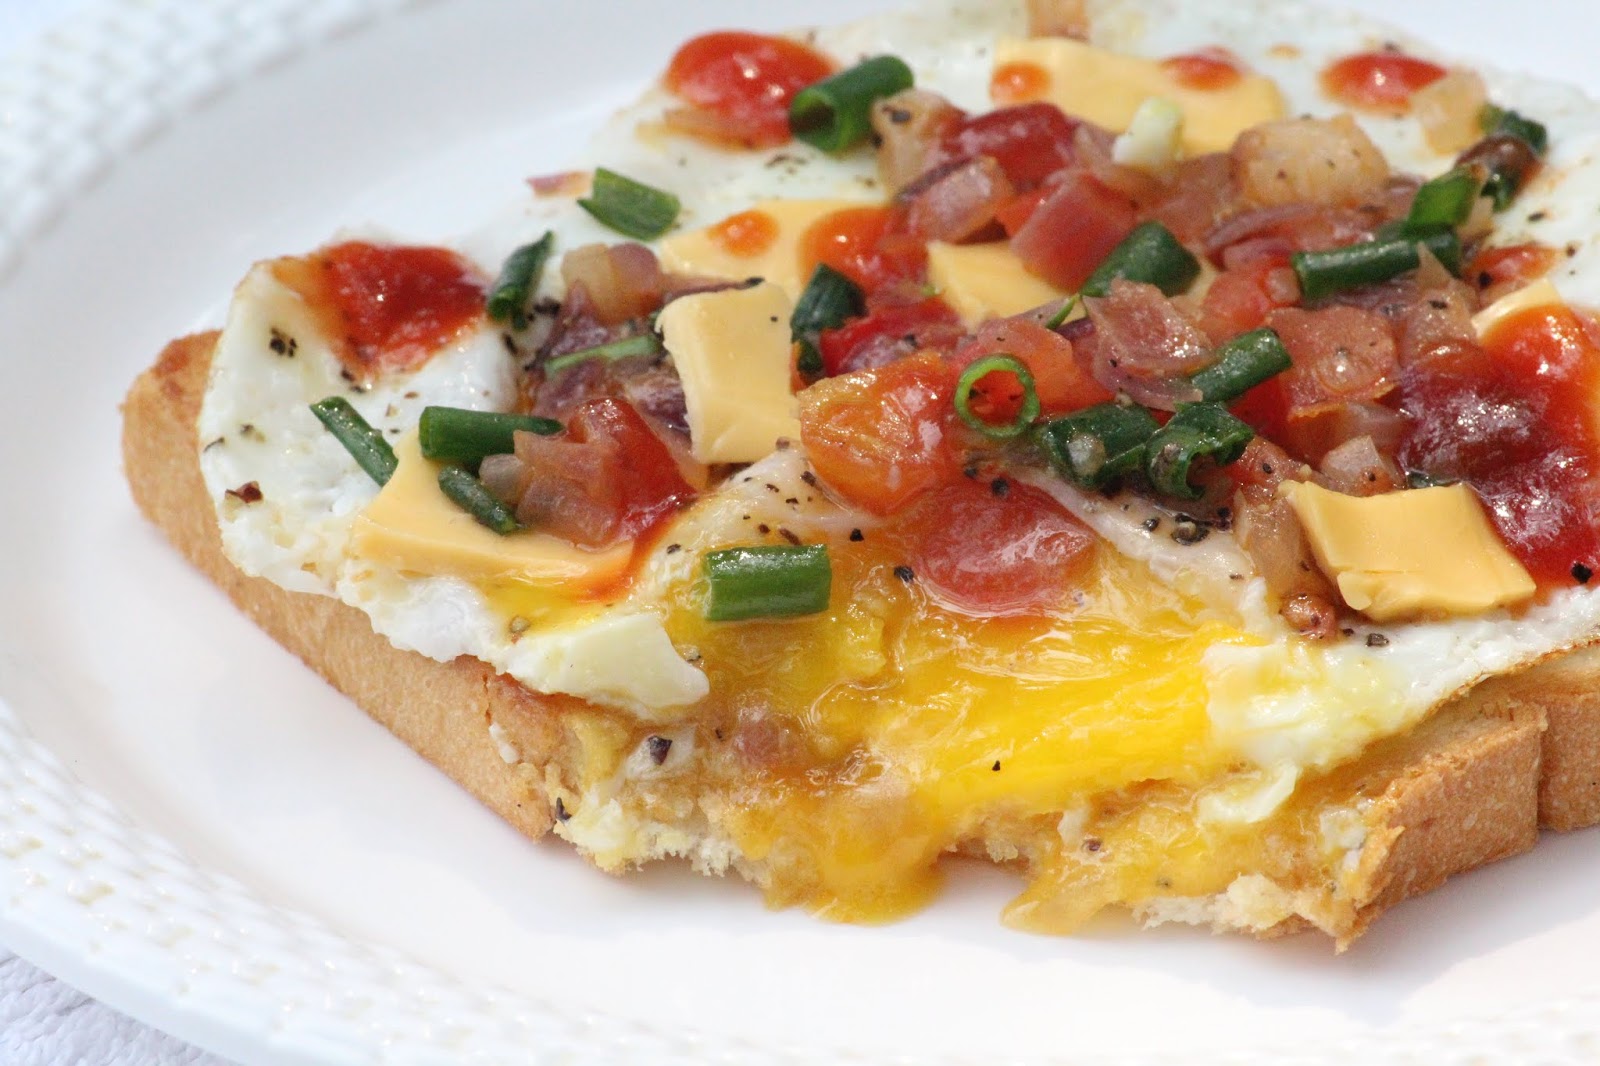
This is a very simple and common poach egg recipe but served in a very different and yummy way, trust me it's not only kids who love this recipe but all your family members will fall for it.

Do try it and let your kids be your biggest fan.

Serves: 1 slice of egg toast
INGREDIENTS
1 bread
1 egg
1 cheese slice

1 tsp oil
1 tbsp butter
1small finely chopped onion
1 small finely chopped tomato
1/4 tsp black pepper powder
chopped green onion leaves
salt to taste

METHOD
1. In pan, add oil and butter, saute onion till translucent don't turn it brown. Add chopped tomatoes. Cook on high flame till it becomes little soft, don't make it mushy.

2. Add salt and pepper and keep aside.

3. In same pan, add little more oil, crack the egg and make poach egg. Add salt and pepper and keep aside.


4. In toaster (I used toaster) or in pan, crisp the bread (crispiness depends on your preference, I like to make it quite crispy).

5. Apply butter over the bread, keep cheese slice.

6. Over cheese slice add hot egg and top with onion-tomato mix.

7. Keep this slice on pan and cover for just 1-2 minute to melt the cheese. (This step is optional, I follow this step in winters as cheese takes time to melt during cold.)

8. Garnish with coriander leaves or spring onion or top more cheese and serve crisp and hot.

Pictorial: 


1. Saute onion with some butter and oil till it becomes sweaty don't turn it brown. 


2. Add tomatoes cook for just 1-2 minutes on high flame till it's water is absorbed.


3. Add salt and pepper. Turn off the flame and keep aside.


4. Toast the bread in toaster or on pan, as much as crisp as you want.


5. Apply some butter on bread and place one cheese slice.


6. Make poach egg, add salt and pepper and place this hot egg over cheese slice. Top it with onion-tomato mix.


7. You can add extra cheese on top. Garnish with spring onion, drizzle some sauce and serve hot.


8. Yummyyy...isn't it?


Rabu, 06 Juni 2018

NO BAKE MANGO CHEESE CAKE / NO BAKE MANGO CAKE / EGG-LESS NO BAKE MANGO CAKE

This mango no bake cake is very simple and delicious to make and one of the hit summer recipe. 

Mango with hit of curd sourness not only balances the taste but makes it really yum. 

My kids not only loves strawberry no bake cake but they are great fan of this chilled cake too.
  
Many recipes call for paneer to replace cheese-cake but I personally don't like that taste so I made it only with curd and mango puree.

This recipe has only one difficult part, that is, to set the gelatin properly. Many people add gelatin directly in the batter, which I feel is not the correct way as curd is generally cold and after adding hot gelatin in it, gelatin forms lump, due to which cake doesn't set firm and nice.

So, for perfect no bake cake I will advice to cook the gelatin with mango puree and then add in curd-condensed milk mix. This will give you firm shape.


INGREDIENTS
For Base Layer:
10-15 or 1.5 cup digestive biscuits
1/2 cup melted butter (I used salted Amul butter)
1 tbsp sugar
 
For Filling:
1 cup hung curd
1 cup milkmaid or powdered sugar
1 cup mango puree
2 tbsp gelatin or agar-agar
1/2 cup water
1/4 cup chopped mango (optional)
 
For Glaze:
1/2 cup mango pulp
2 tbsp sugar
2 tbsp water
1 tbsp lemon juice
a drop of orange food color
 

METHOD
For Base:

1. Combine the biscuit and sugar and blend in a blender to a powder.

2. Add melted butter, vanilla essence and mix well until all of the crumbs are coated evenly.


3. Press the mixture onto the bottom of the spring-form pan making sure that the crumbs are compact. Press with the back of a spoon.


4. Place in the refrigerator until the cheesecake filling is ready.


For Cheesecake Filling:

1. Pour water on the gelatin and let it bloom for 10 minutes.

2. Whisk curd to get smooth consistency. Add condensed milk.

3. Using heavy bottomed pan, warm mango puree on low flame.

4. Simultaneously, dissolve gelatin on other side of the gas, once completely  dissolved add in mango puree. Mix well and cook for a minute.

5. Pour this mango puree in curd-condensed milk mix. Mix well. Here I will suggest to use blender or beater to mix all the ingredients to get smooth and creamy consistency.

6. Pour this over biscuit base.

7. Tap the pan and keep in the refrigerator for 6 hours or overnight to set. 


For Glaze: 

1. Transfer all the ingredients in a pan and bring to boil and let it thicken. 

2. Let the glaze come to room temperature. 

3. Pour on the cheese cake. 

4. Set in the refrigerator.


Pictorial:


1. Add biscuit and sugar in food processor to make fine powder.


2. Add melted butter.


3. Pulse again.


4. Brush tin with melted butter or place parchment paper.


5. Put biscuit powder.


6. Spread evenly with the help of spoon.


7. Keep it in the fridge.


For Cheesecake Filling: 


1. Dissolve gelatin in water and keep aside to bloom.


2. Whisk curd well.


3. Add condensed milk. Whip well till both the ingredients are incorporated.


4. Add mango puree in heavy bottomed pan and cook on low flame.


5. By the time mango puree becomes warm, dissolve gelatin soaked water on low flame.


6. As soon as gelatin dissolve completely add in warm mango puree. 


7. Mix well and turn off the flame.


8. Let if cool down a bit. Add in curd mix. 


4. Mix well using hand beater or juicer mixer for smooth consistency.


5. Pour mix over the base. Keep in fridge for 6-8 hours or overnight to set.


 For Glaze:


1. Mix together mango puree, sugar, water and lemon.


2. Cook on low flame till it thickens.


3. Add a drop of food colour. It's optional.


4. Mix well.


5. let it come down to room temperature and pour over the set cheesecake.


6. Keep it in fridge to set.


7. Serve chilled.


8. Have a slice!